The second of a series of articles about the “Studio” for the Tales of the Crimson Empire (TotCE) short stories. Today’s topic: How to use washes to create a blended layered effect without an air brush.
Painting Tips—Washes
We’ve all seen those amazing models with the airbrushed tints and tones. Did you know there’s another way to achieve a great blended layered effect? It’s an extremely simple method that seems to be regaining popularity: washes. Washes are really just a matter of diluting your paint into an almost transparent hue. Some people use thinners, some use soap, I just use good old water. The paints I use are Citadel Paints. If you are using an oil or lacquer base paint, you may need chemical thinners.
We’ve all seen those amazing models with the airbrushed tints and tones. Did you know there’s another way to achieve a great blended layered effect? It’s an extremely simple method that seems to be regaining popularity: washes. Washes are really just a matter of diluting your paint into an almost transparent hue. Some people use thinners, some use soap, I just use good old water. The paints I use are Citadel Paints. If you are using an oil or lacquer base paint, you may need chemical thinners.
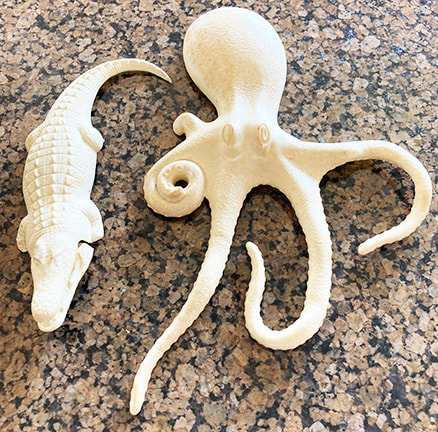
But enough of that boring exposition, you’re here for the pretty pictures. First let me introduce a pair of my dearest childhood friends. The Alligator and Octopus from the Original Pirates of the Caribbean model kits from 1972 (I feel so damned old).

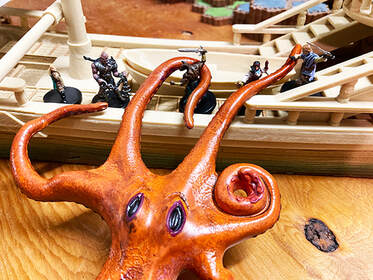
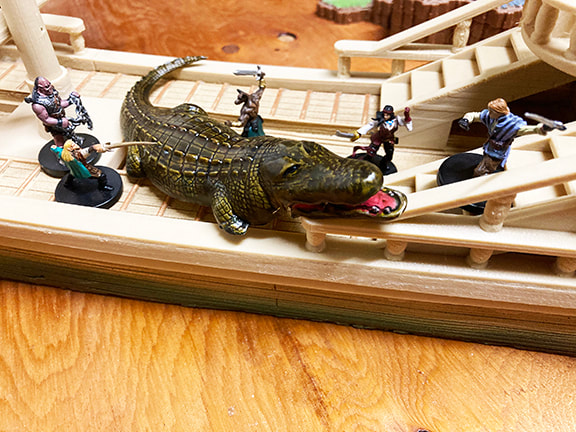
Here they are compared to some D&D figures. Great monstrous beast to menace even the hardiest of adventurers.
And here they are after a thorough wash with soap and water. Please note that it is important to always wash plastic before painting. These were filthy from a decade of children’s grubby hands playing with them. But even new items can be coated with oily films from production. So please make sure to give a good wash to insure the paint sticks properly.
| Before I began, I needed to fix a problem. An ill-fitting jaw needed to be broken off, filed down, and snugly reattached. Much better. | 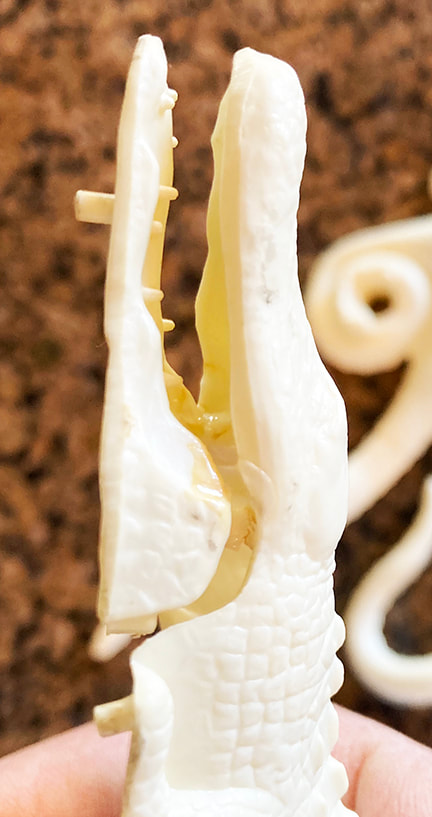 |  |

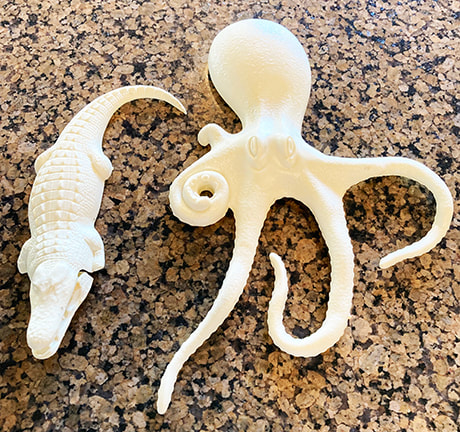
Here they are with a white primer.
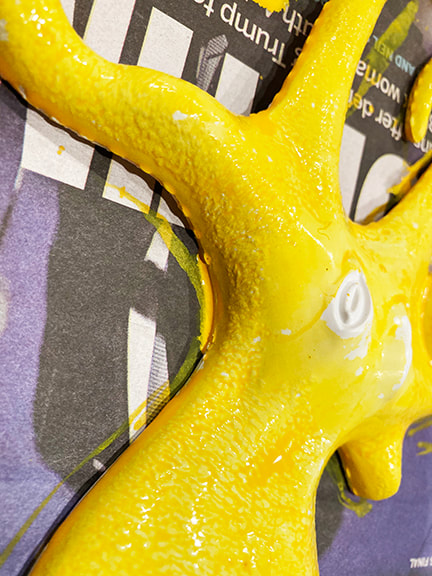
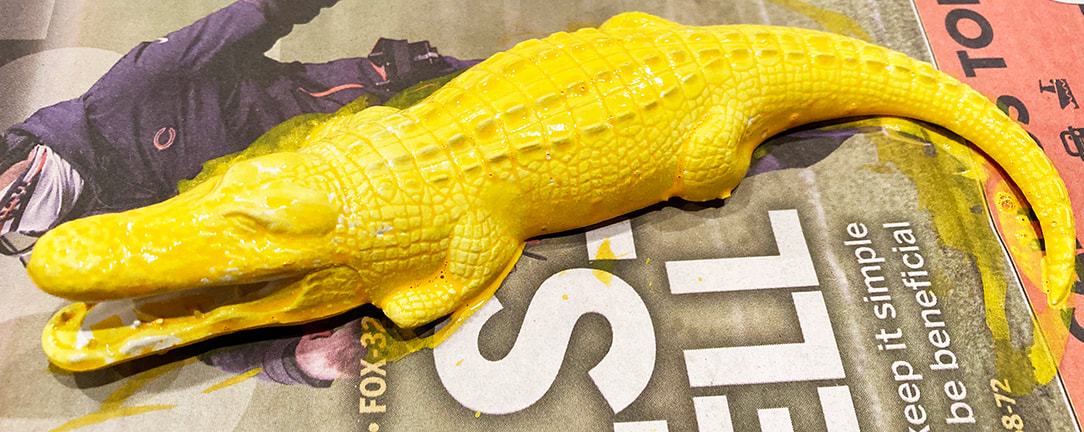
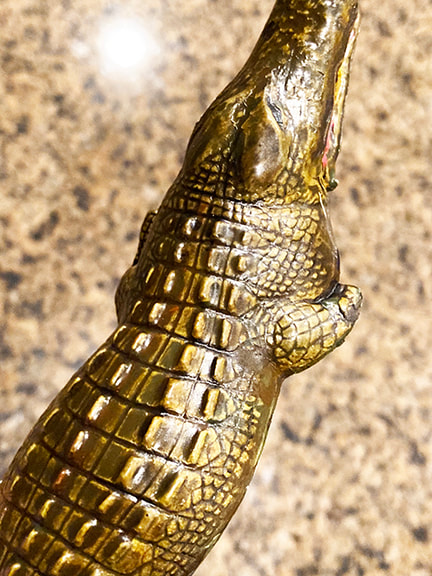
Next, the first wash of yellow. I always try to go from lightest to darkest colors, but go with whatever you think works best. I have to stop here and point out the amazing detail that these nearly 50-year-old models are sporting. Excellent sculpting that stands up to today’s standards. Bravo! These photos also show the viscosity of the wash. Notice the bubbles on the alligator.
 |  |
 |  |
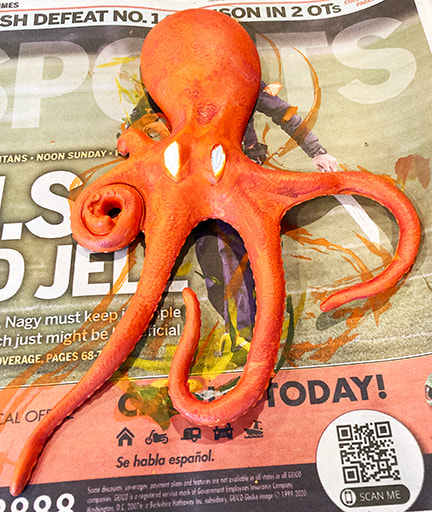
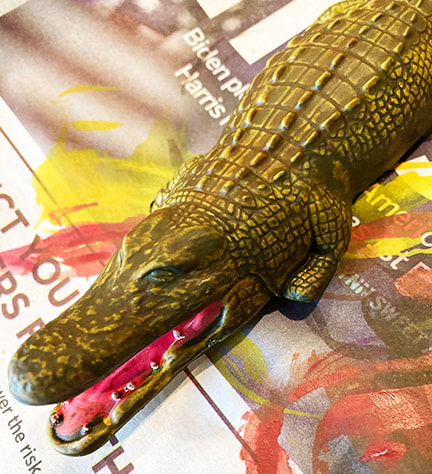
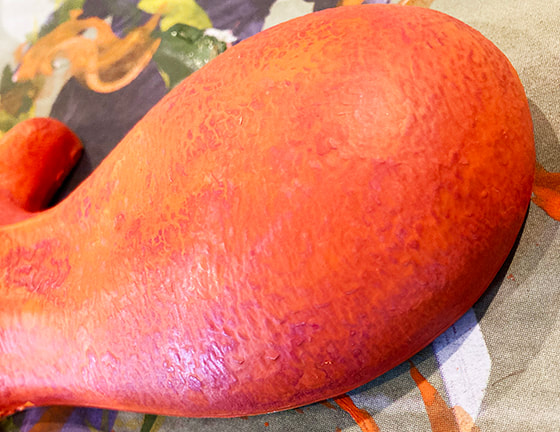
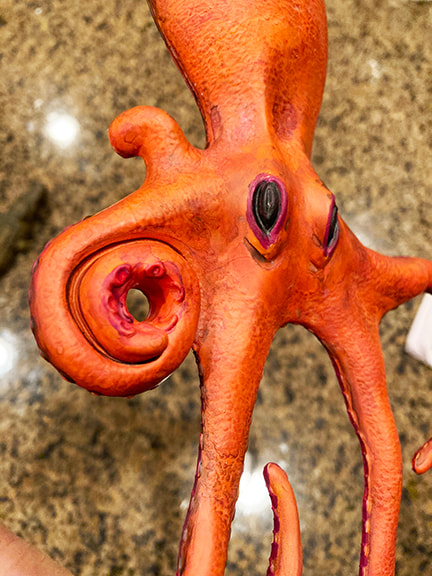
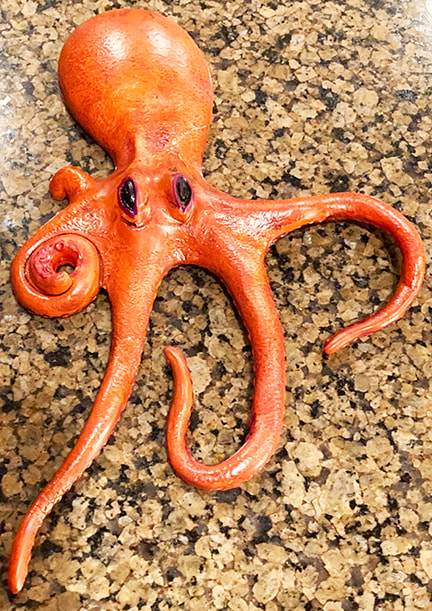
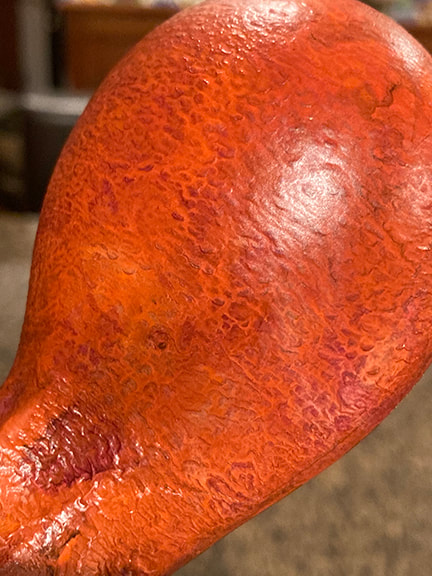
I missed a few steps. I added a purple and then an orange wash on the octopus to give it a nice coral color. I gave the alligator a green and brown wash. It is important to stress that you must let each wash dry completely before applying the next, otherwise the colors will blend. Notice how the overlapping colors are semi-transparent. After everything dried, I painted the eyes and the alligators tongue and teeth.
 |  |
 |  |
 |  |

Next, a nice black wash subtly blends the colors together and highlights the details. Again, check out the detailed sculpting. Beautiful.
 |  |
 |  |

Finally, I sprayed them with a satin varnish to prevent the paint from peeling and chipping. An added bonus is that it gives them a slightly moist appearance. Exactly what you would expect from these aquatic adversaries.
 |  |
 |  |
I am happy to be reunited with these great models. As a kid, they were my go to monsters. Soldiers, astronauts, scuba-divers, cowboys, and knights of all sizes; none of my toys were safe from one or both of these menacing marauders. The fact that they are now ready to battle a new generation via D&D brings a smile to my face. I can’t wait for the next adventure on the high-seas!

 RSS Feed
